


Behind the Scenes of the Internet
Have you ever wondered how those amazing websites you visit now and then are created? What's the secret recipe that makes them look so sleek and function so smoothly? Well, buckle up because this is what I've got to know in my class which I'm going to share here. Let's uncover the magic of website creation.
How the website build?
Well, just like a building we need a structure blueprint and finishing raw material or like a human body which has bones and organs wrapped into skin. Technically, it is built on HTML, CSS & Javascript with the combination of other tools and technologies. Website has a frontend an end-product for an end-user whp likes Netflix to chill, Facebook to chat etc; and the backend where we define how this frontend (the end product) should look like how it interact with other systems.
HTML, which stands for Hypertext Markup Language, was invented in 1990 by Tim Berners-Lee. He created it to help researchers share their documents more easily. Since then, HTML has undergone many developments and changes, becoming one of the most important ingredients of the internet.
HTML is used to build the structure of websites. With HTML, we can add text, images, links, and even videos to the webpages we browse. It's like the skeleton that holds everything together, making sure web pages look good and work properly.
Then CSS adds the style and beauty. With CSS, we can change the colors, fonts, layouts, and other visual aspects of a webpage, making it look attractive and appealing to the eye. It's what gives websites their unique and distinctive appearance, just like how paint and skin add character and personality to our surroundings and bodies.
Majority of the website is built on HTML & CSS, remaining is Javasctipt (JS) for interaction. The reason why JS became so popular is because facebook has to serve so many pages and they couldn't built these pages just by writting HTML and CSS so they found a way to publish thousands of pages, so they created a react framework, a JavaScript library for building user interfaces.
Hold we are not going to talk about CSS, Javascript or framework. I dont even know what is framework. Will know it when times come.
But how does this content reach us? Enter web servers like Apache and Nginx, the gatekeepers of the internet. These servers receive requests for web pages and deliver them to our browsers, serving as the intermediary between our devices and the vast expanse of the World Wide Web, ensuring seamless access to the content we seek.
People used to write their HTML & CSS and upload them to a folder provided by companies. Behind this folder lies a server, such as Apache2. On top of it, an interface called cPanel was provided to manage these files. cPanel has a default route, which is "/var/html/www". In this folder, whenever you place any file, these files are served to you.
Let's say you have a website, yourwebsite.com, on which you want to open the aboutus.html file. Then you have to enter yourwebsite.com/aboutus.html. So, whatever file you put in the folder can be accessed similarly.
But obviously, the server cannot show empty pages when somebody visits yourwebsite.com only. It needs to serve some page. So, a standard came out which says if you place index.html or default.html, the page will be served.
Let's write our first HTML code.
What do we need to learn HTML? An editor, you can use among Sublime text, Jetbrain Fleet or VS code.
Before we dive in to code detail, I would like to tell about a magical wand that can help you write code faster and efficiently, its called Emmet. Imagine you have to write 1000 line code and each line word by word, it can be a tedious job for many. To overcome this Emmet was introduced. Emmet is a handy tool that makes writing HTML code faster and easier. It provides shortcuts and abbreviations that speed up the coding process. With Emmet, you can create complex HTML structures with just a few keystrokes. Just like above code, either you can write it letter by letter or simply use "!" single exclamation mark, it can trigger various autocompletion features depending on the text editor or development environment you're using. Try it now, lets see what it does in VS code and for more use below link.
<!DOCTYPE html>
<html lang="en">
<head>
    <meta charset="UTF-8">
    <meta name="viewport" content="width=device-width, initial-scale=1.0">
    <title>Document</title>
</head>
<body>

</body>
</html>
Great, it has given us some code which we don't understand yet. So far...
Time to Code
Let's see a simple HTML code and decipher it sectionwise.
<!DOCTYPE html>
<html lang="en">
<head>
    <meta charset="UTF-8">
    <meta name="viewport" content="width=device-width, initial-scale=1.0">
    <title>Document</title>
    <meta name="description" content="One World Two Wheels">
</head>
<body>
    <h1>This is heading one</h1>
    <h2>This is heading two</h2>
    <a href="./research_internet.html">read my research</a>
    <h3>This is heading three</h3>
    <p title = "attribute">this is another paragragh with attribute title and there any many more attribute "Title"</p>
    <p> Lorem ipsum, <br> Lorem ipsum dolor sit amet consectetur adipisicing elit.
        Aliquam consectetur minima unde culpa animi soluta dignissimos in dolor voluptatem deserunt! </p>
        <img src="https://images.pexels.com/photos/2549941/pexels-photo-2549941.jpeg" alt="bike photo" width="300">


</body>
</html>
<!DOCTYPE html>
As we've learned previously, researchers often share their documents in various formats. In the context of HTML documents, the <!DOCTYPE html> declaration is used to specify the document type and version of HTML being used.
This declaration serves as an instruction to the web browser, indicating that the document is written in HTML and providing information about the HTML version. In this case, <!DOCTYPE html> specifically identifies the document as an HTML5 document.
<html> and </html> tags define the beginning and end of the HTML document, respectively. They enclose all the content of the document and mark it as HTML code. Between them we have <head></head> and <body>,</body>
<head>
    <meta charset="UTF-8">
    <meta name="viewport" content="width=device-width, initial-scale=1.0">
    <title>Document</title>
</head>
The <head> and </head> tags in HTML represent the header section of the document. This section contains metadata (data about data) and other information about the document, such as the document's title, character encoding, viewport settings, and links to external resources like stylesheets and scripts. for example,<title>Document</title> will show the tab name as document and provide some details when hover the mouse on browser tab. You can add more detials on different meta tags and attributes on below link, don't hesitate to try and test them.
Meta Tags and Attribute that Google Support
<body>

    <h1>This is heading one</h1>
    <h2>This is heading two</h2>
    <a href="./research_internet.html">read my research</a>
    <h3>This is heading three</h3>
    <p title = "attribute">this is another paragragh with attribute title and there any many more attribute "Title"</p>
    <p> Lorem ipsum, <br> Lorem ipsum dolor sit amet consectetur adipisicing elit.
        Aliquam consectetur minima unde culpa animi soluta dignissimos in dolor voluptatem deserunt! </p>
        <img src="https://images.pexels.com/photos/2549941/pexels-photo-2549941.jpeg" alt="bike photo" width="300">

</body>
The <body> section of an HTML document contains the content that is directly visible on the webpage. It represents the main content area where text, images, links, and other elements are displayed for users to interact with.
Here's a breakdown of some common elements found within the <body> section:
Headings (H1, H2 ... H6.): Headings are used to define the hierarchical structure of the content. The
<h1>element represents the main heading of the page, followed by<h2>for subheadings, and so on.Paragraphs (P): The
<p>element is used to define paragraphs of text. It is commonly used for regular text content on the webpage.Attributes: HTML elements can have attributes that provide additional information or specify behavior. For example, the
<p>element can have attributes such asclassoridto style or target it with CSS or JavaScript.
Lorem Ipsum
Imagine you're building this epic blog website, right? But testing it feels like watching grass grow, except with more keyboard clacking. Enter "Lorem ipsum" – the secret sauce of web developers. Type "lorem500," and boom! 500 filler words pop up, like a text magician's trick, again Emmet shortcut to easy our life.
It's like summoning a word wizard with a flick of your wrist. You'll laugh at the absurdity as your screen fills with random chatter that somehow looks sophisticated. Read interesting history of Lorem Ipsum.
History and Purpose of Lorem Ipsum
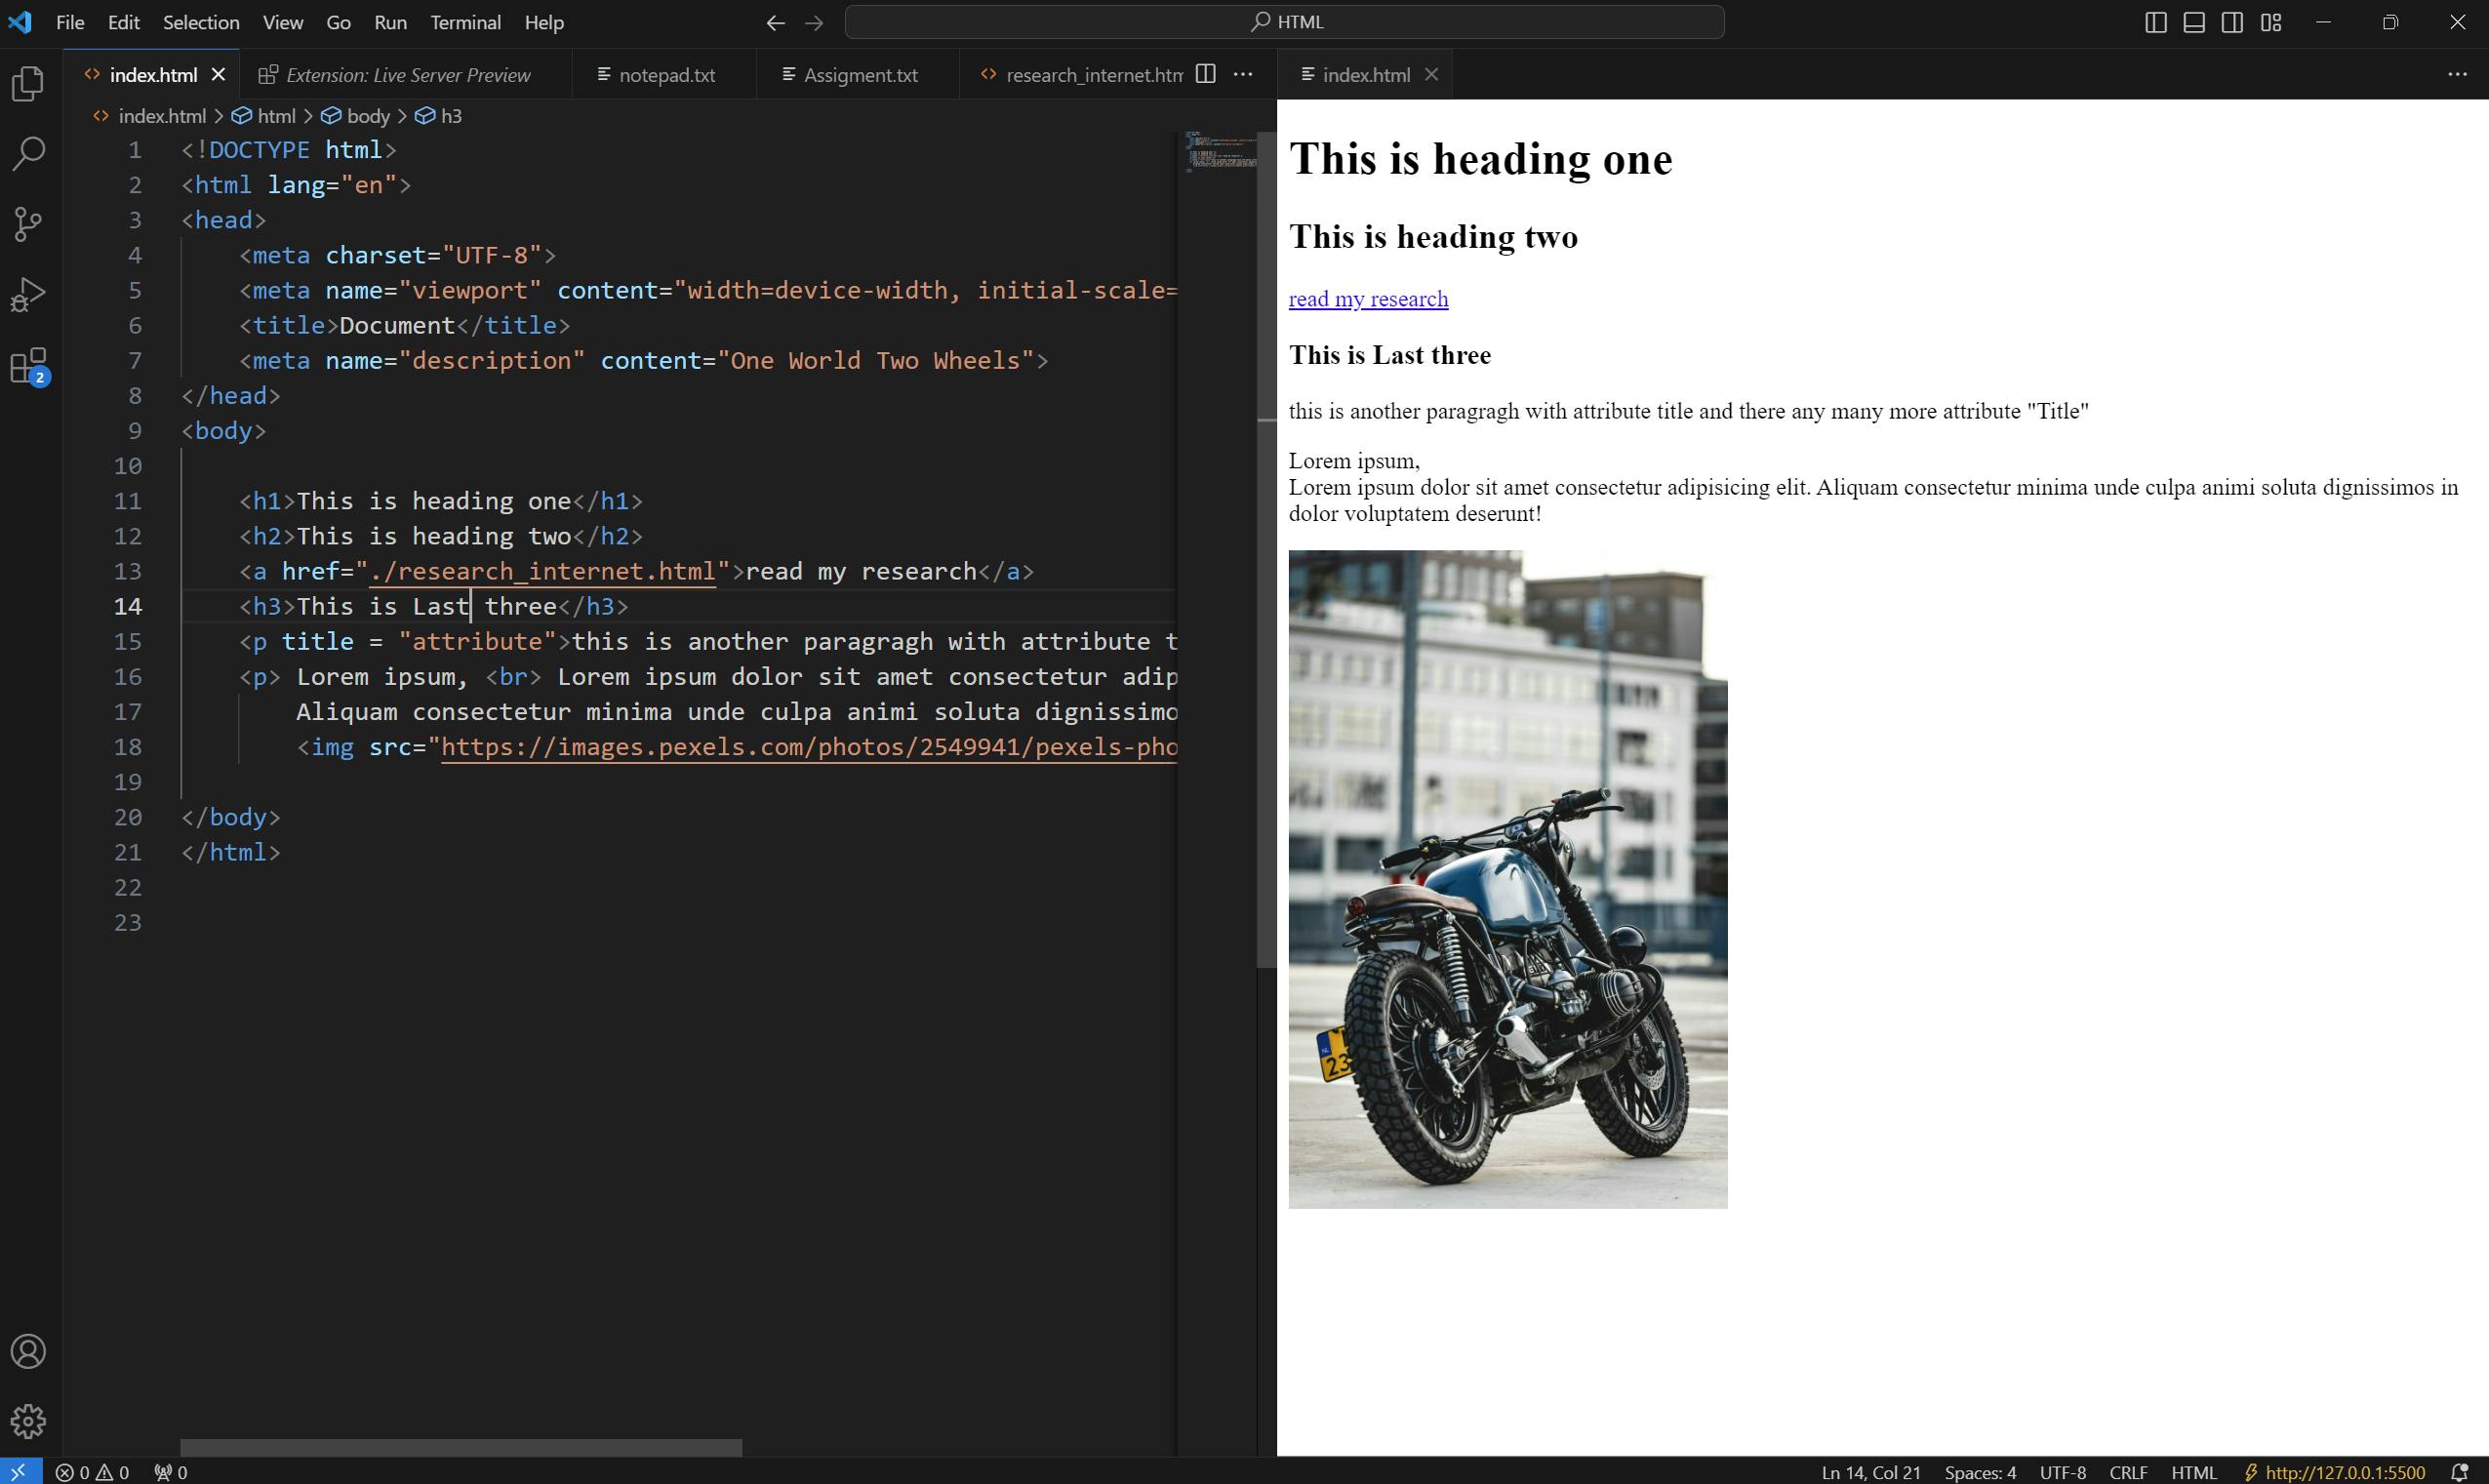
Adding Images
<img src="https://images.pexels.com/photos/2549941/pexels-photo-2549941.jpeg" alt="bike photo" width="300">
In the provided HTML snippet, there is an <img> element used to display an image on the webpage.
src="https://images.pexels.com/photos/2549941/pexels-photo-2549941.jpeg": This attribute specifies the source URL of the image. In this case, it points to an image file hosted at the given URL.alt="bike photo": This attribute provides alternative text for the image. It is used to describe the content or purpose of the image, which is helpful for accessibility purposes (e.g., for screen readers) and in cases where the image fails to load. In this example, the alternative text is "bike photo," describing the content of the image.width="300": This attribute specifies the width of the image in pixels. In this case, the width is set to 300 pixels, which controls the display size of the image on the webpage.
You can explore more about element from below link
Linked pages
<a href="./research_internet.html">read my research</a>
Creating links to navigate from one page to another is a common requirement in web development. One way to achieve this is by using the <a> element, also known as the "anchor" element, along with the href attribute.
In the provided code snippet, we've accomplished this by using the <a> element with the href="./research_internet.html" attribute. This attribute specifies the destination URL or file path that the link will lead to when clicked. In this case, the href attribute is set to "./research_internet.html", indicating that clicking on the link will take the user to the "research_internet.html" file located in the same directory as the current HTML document.
Additionally, the text "read my research" placed between the opening and closing <a> tags serves as the clickable text or anchor text for the link. When users click on this text, it triggers the navigation specified by the href attribute, directing them to the designated page.
What's Now?
You have you code editor and first code ready to run. One thing which is going to be really handy to see real-time updates to your code as you make changes, providing an instant preview of how your webpage will appear in the browser. I would suggest Live Server Preview by negokaz for VS code editor and fi available for other editors. Live server preview works by creating a local server environment on your computer that serves your web project files and dynamically updates the browser window whenever changes are made to your code.
Once Installed, press Ctrl + Shit + P and select live server preview to see the outcome.
This is all I learned in my first class of HTML.. :)